
Do you hate when on a website logging page you don’t remember which of your favorite password variation you used? Was it with the capital letter? With a number? How many characters? Did I write it down somewhere? 🤔 Do you sometimes feel like throwing your computer by the window? I did. I mean feeling like that, not actually throwing the computer ;) However, I haven’t felt this again since 2014 \o/
Simply because since 2014 I’ve been using a password manager, i.e. a software which allows to create a secure database with all your passwords inside.
It might sound stupid but it has actually changed my use of the internet quite profoundly. I don’t hesitate anymore to create an account on a website which looks interesting, even if I might barely use it once a year. Plus I feel much more secure because I generate passwords through the software meaning random up to 30 characters-long passwords, sometimes even longer! It only takes a few seconds and I never reuse twice the same password on two websites anymore. Finally, once you get use to it, it definitely save a lot of time and energy and isn’t this something we always look for in our crazy academic lives?
The password manager that I’m using, and which I’m introducing to you below in 8 simple steps, is called KeePassXC, and is free (and Libre) :)
It looks quite old fashion (like old Windows style), especially compared to newer nice-looking software, like Bitwarden and Buttercup, but after trying out these two, I still prefer to stick to KeePassXC. One reason is that I can do many things easily through the keyboard. I will log in, search for and copy the password I want, go back to my web browser and paste the password super quickly just from the keyboard. Also I like that we can define an expire date for the passwords to help remember to change them from time to time for even higher security.
One downside of KeePassXC, like compared to Bitwarden, is that there is no synchronization service offered so you end up manually updating your database file on your different computers. For having done so for a very long time, I think that with only 2 main computers, one at home and one at work, it is not so difficult to deal with (use a USB flash drive). One could also have a professional database at work and a different personal database at home. Another way is to put the file on Dropbox or on your cloud but if you do so, please make sure that you use a very secure password for your Dropbox or cloud account.
OK now, let’s get started
1/ Open KeePassXC and create a new database. Give the name you want like here “Example2”.
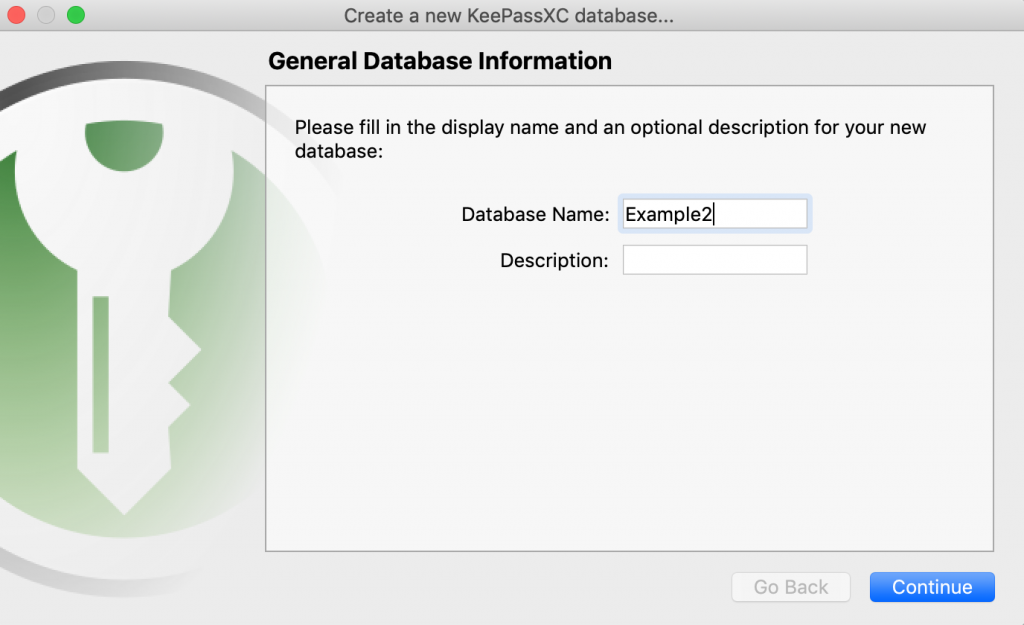
On the next screen, leave the “encryption settings” to default and click continue.
2/ Enter your master password = the password to unlock your database = the only one you will need to remember, also called “master key” here.
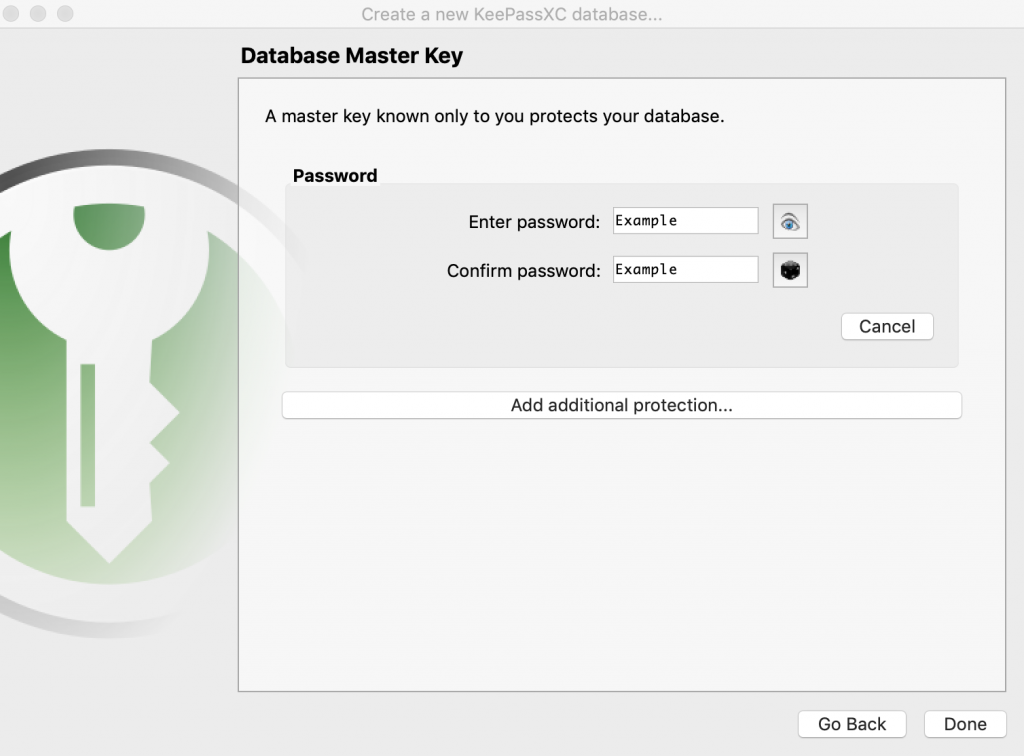
This is a very important step, it needs a strong enough password to protect your database, but you need to be able to remember it and to type it easily because you might end up typing it several times a day! My example above obviously is very bad.
My tip #1: to create a strong password (at least 10 characters with all types) while being able to remember it easily, try to think of a sentence like, for example:
Hello, my name is Pauline and I love cats, times 1000.
This could be transformed in:
H,naisP&I<3cx1000
Got it? 👍
Otherwise you could type the full sentence like it is, with at least 10 words, the punctuation and if possible a number. More about creating passphrases here.
My tip #2: write it down somewhere very safe (like at home) until you are sure to always remember it, the more often you will use it the faster you will learn it.
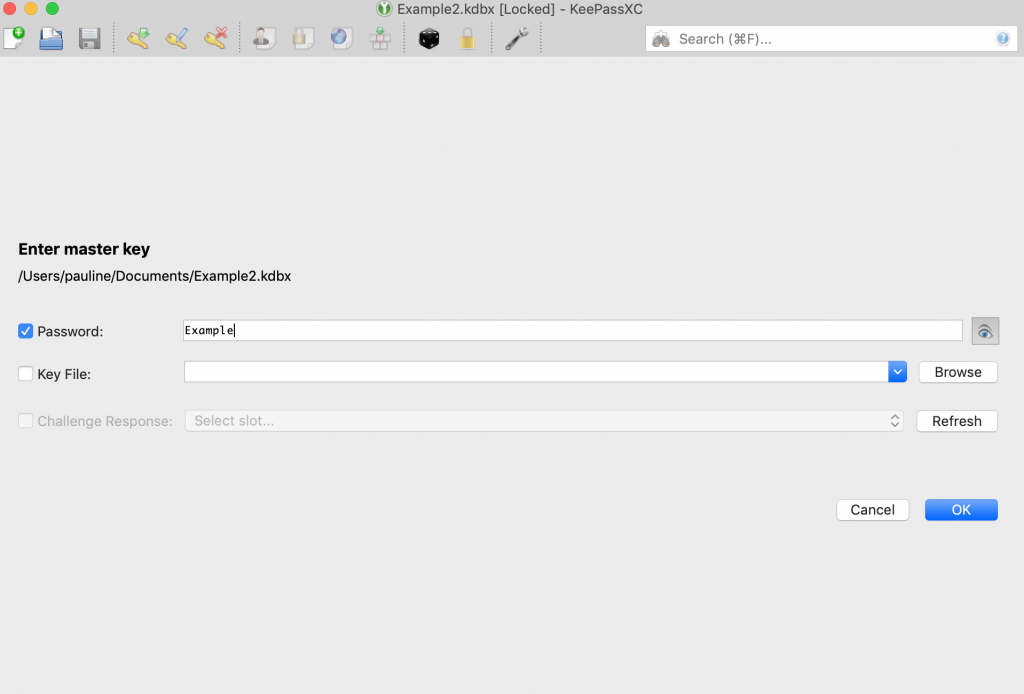
3/ Open your newly created database with the master key.
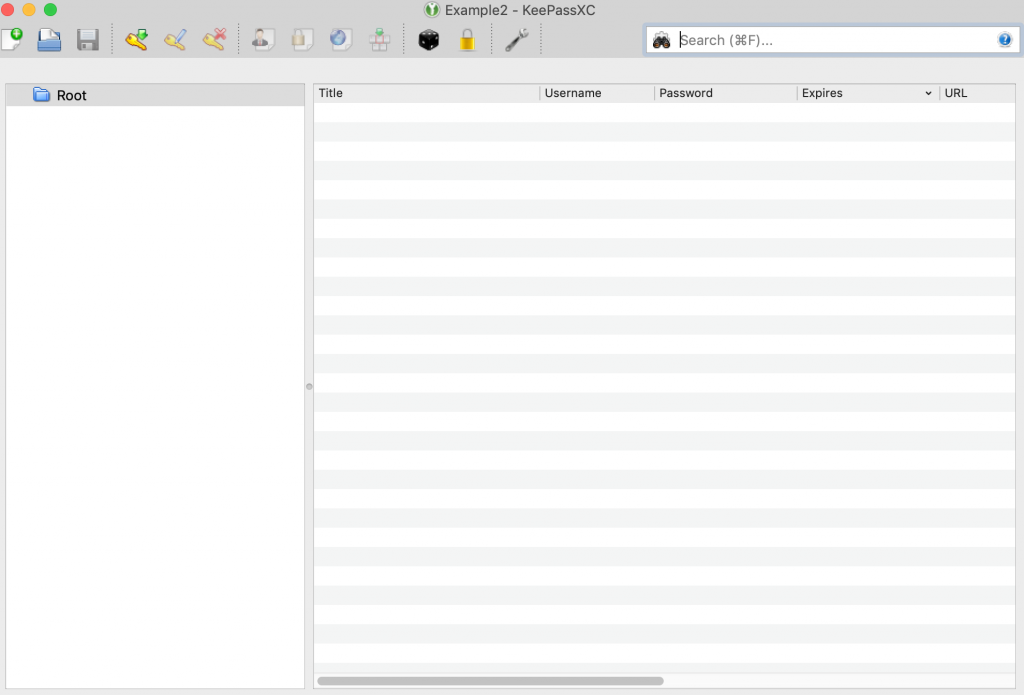
This is how it looks for the moment, it’s empty.
4/ Add a group = a subfolder in the database to help you organize all your passwords.
To add a group, go to the menus Groups > New Group.
In the example below, I’ve called it “WordPress”, but you might want to create groups like “emails”, “social media accounts” or “credit cards”.
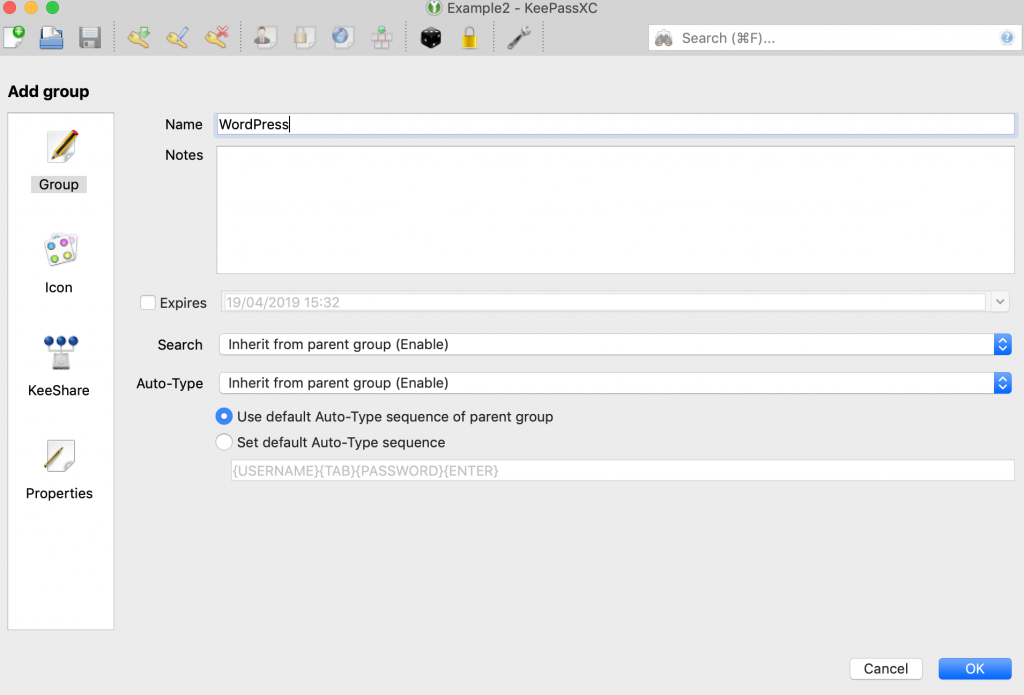
You can choose an icon for the group to make it more visual but it’s optional and the choice is limited (many very nerdy looking icon).
![]()
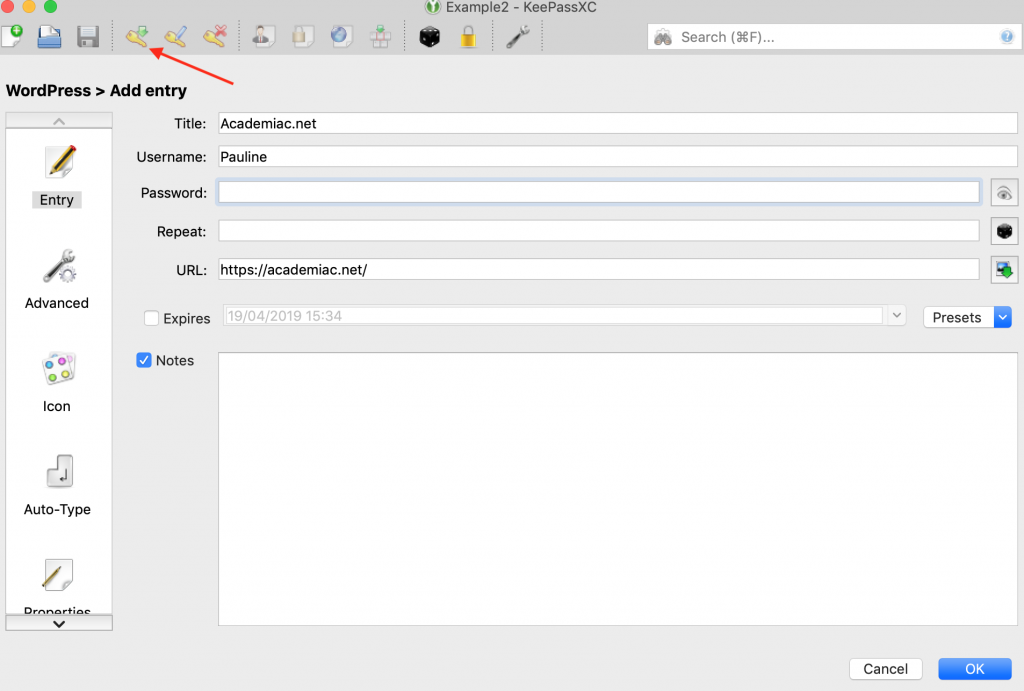
5/ Add an entry ![]() = a line in the database.
= a line in the database.
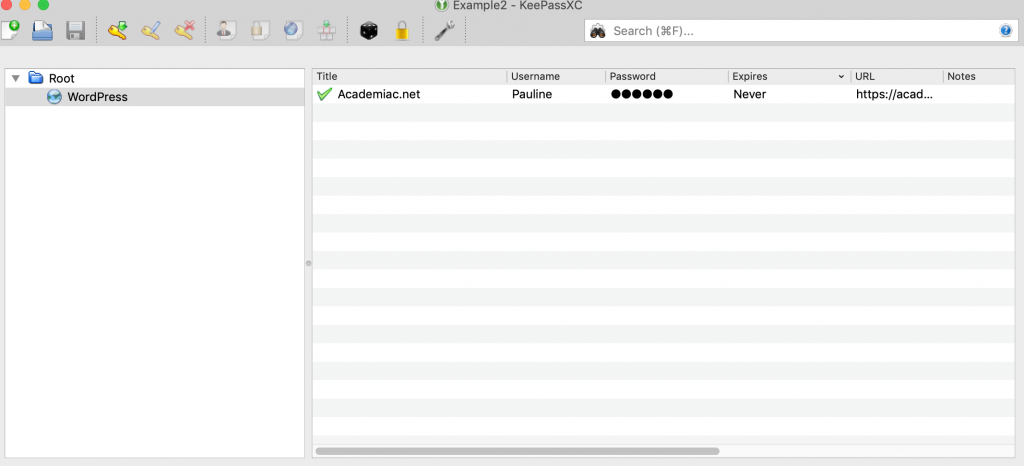
Give the name you want (= title), write the username and the website URL if you want, and enter the password. Here in the title I’ve put the name of my blog, Academiac.net, the username Pauline and I copied/pasted the URL.
You can also select an icon for the entry, just like for the group.
If you want to manually enter a password, you will need to enter it in the “Password” and in the “Repeat” lines.
Personally, I like to use the password generator.
6/ Generate a password. Click the black die icon on the right side of the “Repeat” line to open the sub window.
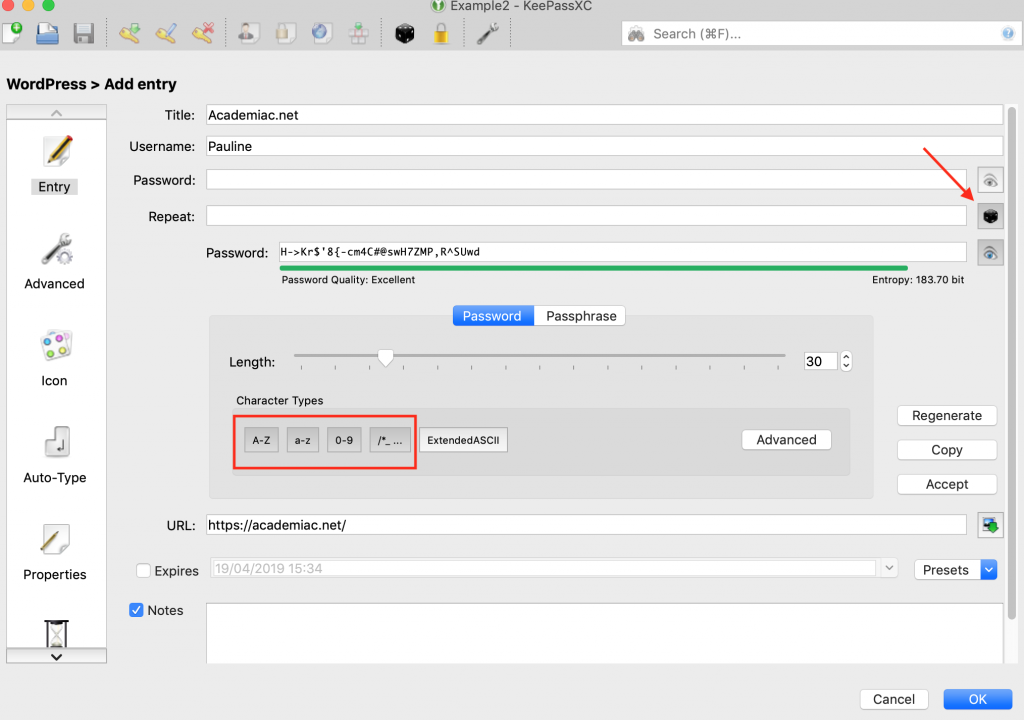
Choose the password length wanted (here I’ve selected 30) and character types to include (capital letters, normal letters, numbers and special characters). Regenerate as many times as you want and see how it affects the “entropy”, the higher the better, and once you’re happy just click “accept”.
7/ Done! You’ve created your first entry in your first group in your first KeePassXC database secured with your strong master key, congrats! 🎉
8/ Last point, if you no longer need an entry, just delete it and it will go to an automatically created group called “Recycle Bin” so that it can still be recovered.

With this you’ve got the basics, feel free to explore the settings and options by yourself and to ask questions in the comments below :) Hoping you’ve found this interesting and that I did help you to get started!
Last important point: make sure to have MANY backup of your database, believe me, you don’t want to lose this file.
If you’re interested in more nerdy posts from me, have a look at this one where I suggest using Evernote email to sign-up to Pubmed alerts to help free your professional email inbox, or this one about Mac Keyboard Shortcuts :)
More reading:
- KeePass vs Bitwarden: A Comparison. The author of this article compared Bitwarden and KeePass and seem to be happy with switching to Bitwarden.
- List of password managers where the author “ranked from the ones [they] highly recommend (top) to the ones [they] don’t talk about (bottom).”